api-crack-sizing-blocks UT Calibration Block

API QUSE CRACKED FLAW SPECIMEN NDT CALIBRATION BLOCK

Practice and learn before the test

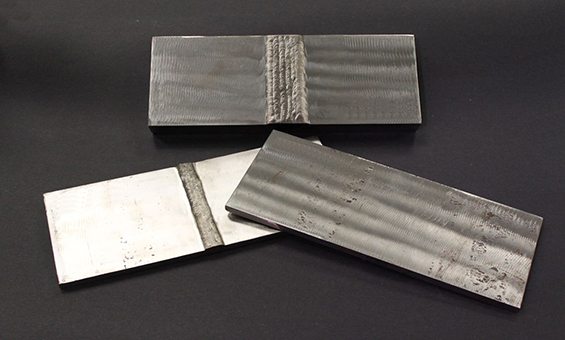
Kit contains: 3 x 1″ thick carbon steel blocks with ‘V’ weld profile, 3 x 1″ thick carbon steel blocks without weld cap, 3 x 3/8″ thick carbon steel blocks with ‘V’ weld profile, 3 x 3/8″ thick carbon steel block without weld cap. All blocks contain cracks at various depths. All blocks are also 4″ wide where the crack start and stop locations are within the block so that length measurements can also be taken.

Click Here for API Site Link

crack-sizing-standard UT Calibration Block

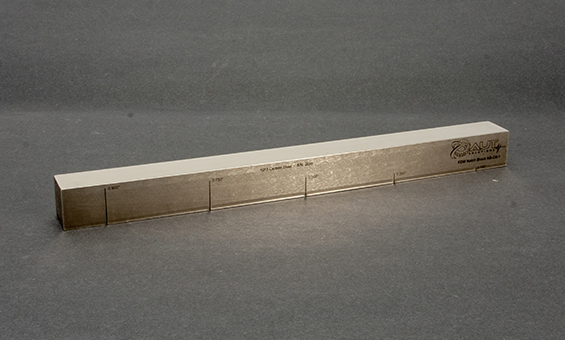
CRACK SIZING STANDARD – NB-CS-1

For crack sizing calibration

1″ thick x 1″ wide x 12″ long 1018 carbon steel crack sizing standard with wire EDM notches at 0.10″, 0.25″, 0.50″, 0.75″ & 0.900″ depths, all separated for full “V” calibration. Nickel coated to protect against rust.

CRACK SIZING STANDARD – NB-CS-2

For crack sizing calibration

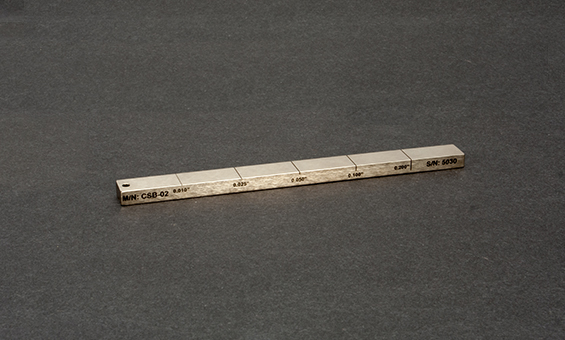
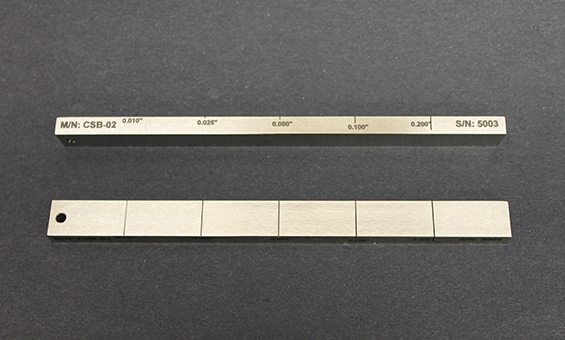
0.25″ thick x 50″ wide x 6″ long 1018 carbon steel crack sizing standard with wire EDM notches at 0.010″, 0.025″, 0.050″, 0.100″ & 0.200″ depths, all separated for full “V” calibration. Nickel coated to protect against rust.

CRACK SIZING STANDARD – NB-CS-3

For crack sizing calibration

3/8″ thick x 0.75″ wide x 7″ long 1018 carbon steel crack sizing standard with wire EDM notches at 0.020″, 0.038″, 0.075″, 0.150″ & 0.300″ depths, all separated for full “V” calibration. Nickel coated to protect against rust